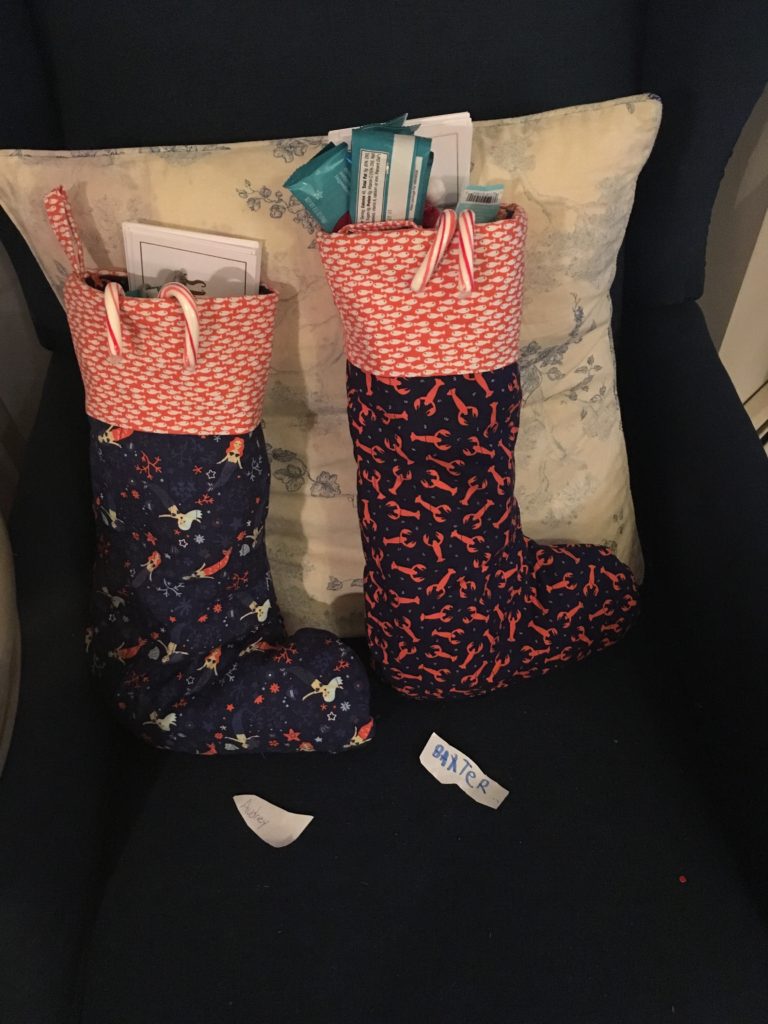
Now that the holidays are past and I have a few minutes to breathe again, I can catch up on blogging all my holiday makes!
Full disclaimer: I used this awesome tutorial from Cluck Cluck Sew.
First I made my template and cut out from my fabulous fabrics. For each stocking, you need two lining pieces, two outside pieces, one quilt batting piece and one cuff piece. (For the quilting, I like the Warm and Natural brand – but that is just my preference!)

I had never quilted anything before, so that was sort of fun. My prints were very busy, so I just went with a neutral color (in this case, navy) and did some wavy lines about ¾ inch apart from each other. If you are making more than one stocking, be sure that this piece is all facing in your desired direction!!!!
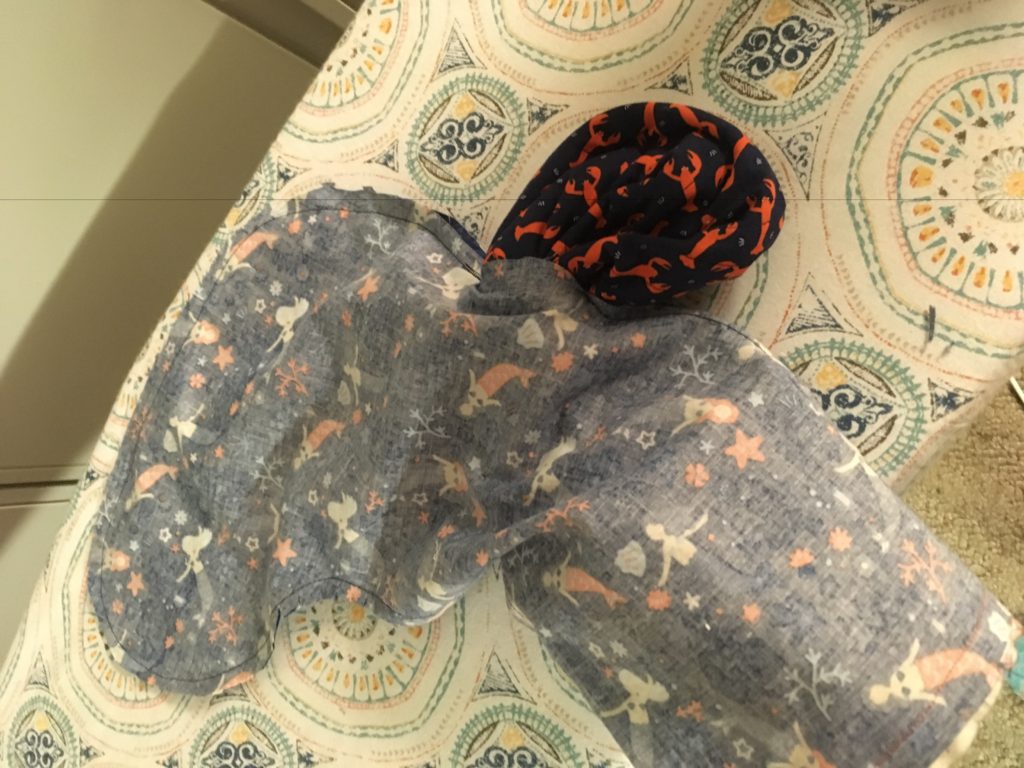
Next, I sewed together the lining pieces (leaving a 3 inch turning hole), and I sewed together the outside pieces. Next up though… putting these pieces all together! I do not have the best spatial reasoning, so the tutorial was really perfect to help me manage this piece.


Basically, you layer your inside pieces inside of the outside pieces (this part makes sense, right?), then you pin the cuff around the top as well. You sew all of these pieces together, easy peasy! You can even add a little piece of coordinating fabric as your hanger, which I did.

Anyway, check out the fabulous tutorial from Cluck Cluck Sew if this is something you want to do for your home next year. And if you are interested in the nautically-themed fabrics that my kids helped me choose, they are by Dear Stella: Lobster Indigo, Mermaid Dance, and Shoal Flame, all purchased from Alewives Fabric.
Cheers to warming up your home for the holidays!